A standard solar panel is designed to work for many applications. That is useful when its size, voltage, materials, and connections already match your product.
But what happens when it does not fit?
Choosing a smaller panel is not always the answer. The panel must also provide enough energy, work with the charging circuit, fit the enclosure, and perform reliably in the product’s actual environment.
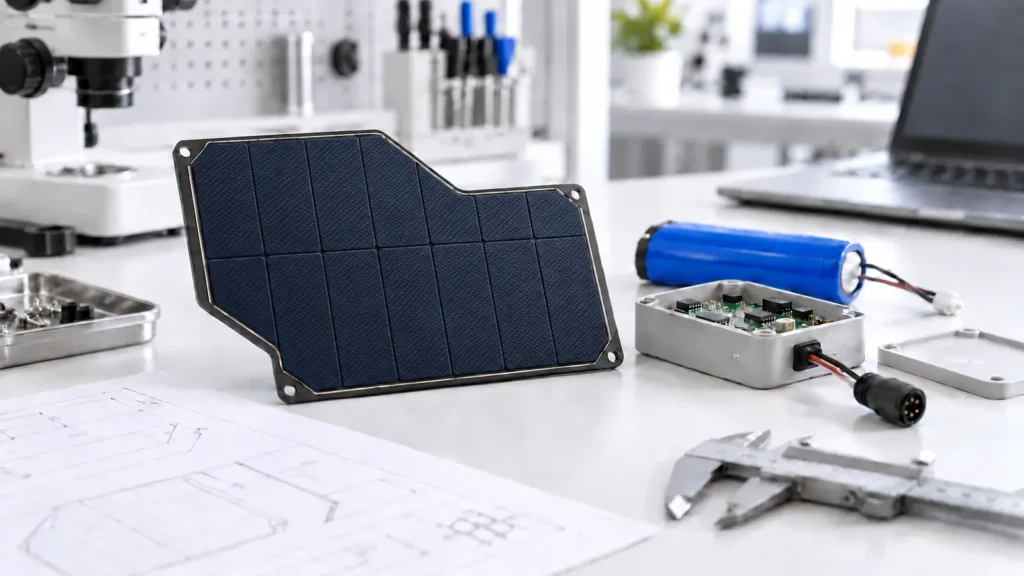
For an IoT sensor, GPS tracker, security camera, marine device, or portable electronic product, the solar panel should be treated as part of the complete system—not as an accessory added at the end.
This guide explains the main decisions involved in custom solar panel design and the information you should prepare before starting a project.
Why Would a Product Need a Custom Solar Panel?
Products often have limited installation space and specific electrical requirements. An off-the-shelf panel may be the wrong size, produce an unsuitable voltage, or use materials that do not match the intended environment.
A custom solar panel can help when:
- The available installation area is limited.
- The product requires a specific voltage or current.
- The enclosure has an unusual shape.
- The cable must exit from a particular position.
- A specific connector is required.
- The panel must be thin, lightweight, rigid, or semi-flexible.
- The product will be exposed to rain, UV light, vibration, or salt air.
- The panel must match the appearance of the finished product.
Customization does not mean changing every part of the panel. It means adjusting the features that affect fit, electrical performance, durability, and manufacturing.
What Can Be Customized?
Depending on the design and manufacturing process, the following features can often be customized:
- Panel length, width, and thickness
- Shape and corner design
- Operating voltage
- Output current and rated power
- Solar cell type and arrangement
- Front surface material
- Backing material
- Cable length and wire specification
- Connector type and polarity
- Cable exit position
- Junction box design
- Mounting holes or adhesive backing
- Labeling and packaging
The right configuration depends on the product rather than a standard list of options.
1. Define the Available Installation Area
Start by measuring the maximum space available for the solar panel.
Record the maximum:
- Length
- Width
- Thickness
Also identify any areas that the panel cannot cover, such as antennas, sensors, buttons, mounting holes, ventilation openings, displays, or curved edges.
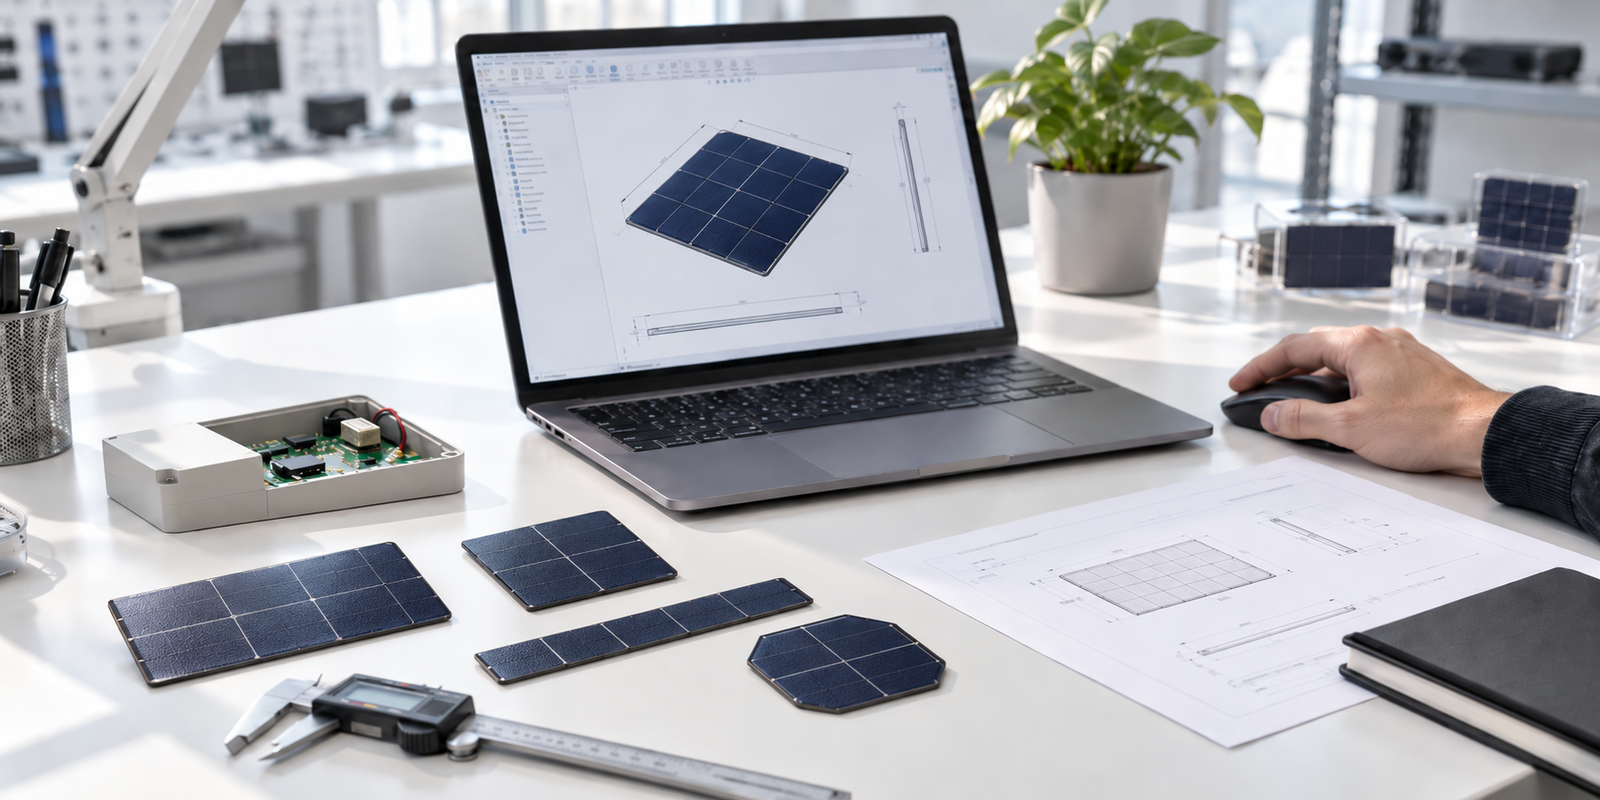
A simple dimensional sketch is usually enough for an initial review. A CAD drawing is helpful when the panel must follow an irregular enclosure or avoid several components.
Panel size affects available power
A smaller panel has less active solar cell area. Under the same light conditions, less cell area normally means less available power.
If the target power cannot fit within the available space, the design team may need to:
- Use higher-efficiency solar cells.
- Increase the installation area.
- Reduce the device’s energy consumption.
- Change how often the device operates or transmits data.
- Improve the charging and power-management circuit.
- Increase the battery reserve.
- Adjust the original power target.
This is why panel dimensions and electrical requirements should be evaluated together.
2. Calculate the Product’s Daily Energy Use
The next step is to determine how much energy the product uses each day.
Do not size the solar panel using only the device’s maximum power. For most battery-powered products, daily energy consumption is more useful than peak power alone.
Consider an outdoor wireless sensor. It may remain in sleep mode for most of the day, wake up every 15 minutes, collect data, transmit for a few seconds, and then return to sleep.
Its current may be high during transmission, but only for a short time. The battery handles that brief peak, while the solar panel replaces the energy consumed throughout the day.
Collect the following information:
- Device operating voltage
- Sleep current
- Normal operating current
- Peak current
- Operating time per day
- Measurement frequency
- Wireless transmission frequency
- Battery voltage and capacity
- Expected hours of useful light
For an existing product, use measured energy-consumption data whenever possible. Real measurements include losses and operating behavior that may not appear in component datasheets.
The complete power path should be considered:
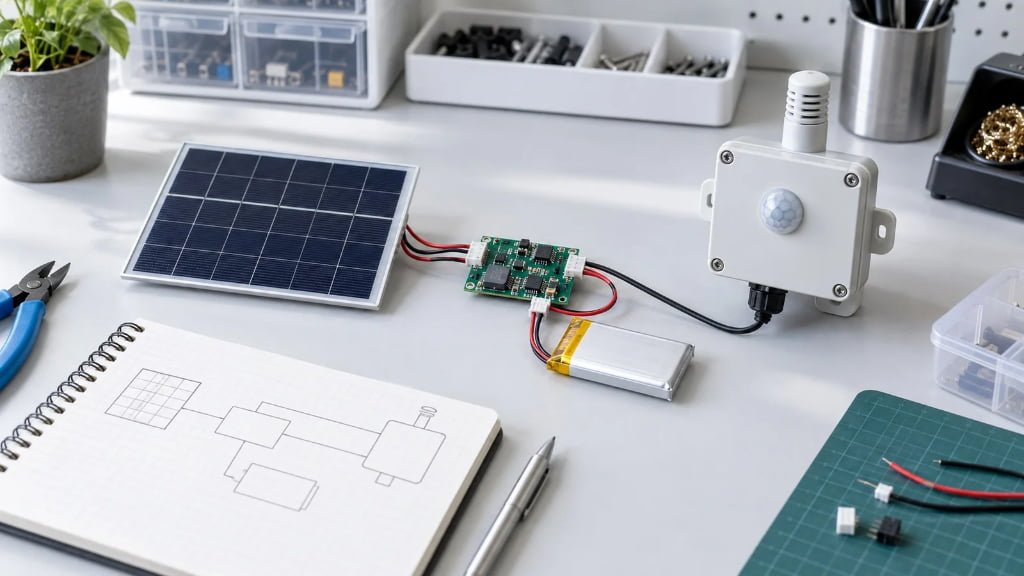
Solar Panel → Charging Circuit → Battery → Device
If one part of this system is poorly matched, the product may charge slowly or stop working during low-light periods.
3. Match the Panel Voltage to the Charging Circuit
A product with a 3.7V battery does not automatically need a 3.7V solar panel.
The panel normally connects to a charging or power-management circuit before the battery. Its voltage must work within the input range of that circuit.
Important values include:
- Vmp: The panel voltage near its maximum power point
- Voc: The voltage measured when no load is connected
- Minimum startup voltage of the charging circuit
- Normal input-voltage range
- Maximum permitted input voltage
- Battery charging voltage
- Expected conversion losses
For example, a device may use a 3.7V lithium battery and a dedicated solar charging IC. The panel must provide enough voltage for the charging circuit to start and operate correctly, including under weaker light and different temperatures.
When contacting a custom solar panel manufacturer, provide the charging-controller model or its main input specifications. This is more useful than simply requesting a “5V panel.”
4. Consider Voltage, Current, and Power Together
The basic relationship is:
Power = Voltage × Current
However, a solar panel does not produce one fixed voltage and current throughout the day.
Its output changes with:
- Light intensity
- Cell temperature
- Panel angle
- Partial shading
- Solar cell technology
- Connected load
- Dust or surface obstruction
A useful electrical requirement should therefore include more than one voltage value.
Instead of saying:
We need a 5V solar panel.
Provide information such as:
- Target operating voltage
- Required charging current
- Desired power or daily energy
- Battery specification
- Charging-controller specification
- Installation location
- Expected light conditions
The manufacturer can then develop a suitable solar cell arrangement within the available panel area.
5. Select the Solar Cell and Surface Material
Solar cell selection affects efficiency, appearance, cost, electrical layout, and manufacturing.
Higher-efficiency solar cells can provide more power when panel space is limited. However, efficiency is not the only consideration.
The design should also account for:
- Required voltage and current
- Available area
- Cell-cutting requirements
- Product appearance
- Mechanical construction
- Operating light conditions
- Target cost
- Material availability
- Production stability
For an OEM solar panel project, consistent production is just as important as the performance of the first sample.
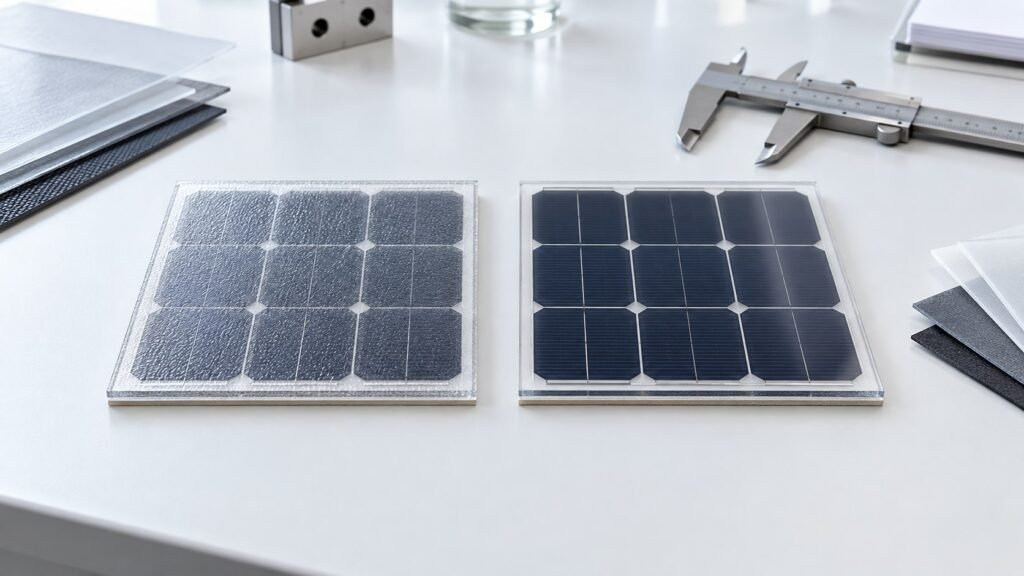
ETFE solar panels
ETFE laminates are commonly used for lightweight outdoor products. Their textured surfaces are often seen on portable solar chargers and small outdoor solar modules.
ETFE may be considered for:
- Outdoor IoT devices
- GPS and asset trackers
- Portable electronics
- Marine equipment
- Remote monitoring systems
Outdoor durability depends on the entire panel construction. The backing, encapsulation, edges, cable exit, and production process must also be suitable for the application.
PET solar panels
PET can be a practical option when low weight and cost control are important.
It may suit:
- Indoor electronics
- Protected installations
- Products with limited outdoor exposure
- Cost-sensitive applications
- Products with a shorter expected service life
The PET grade and complete laminate structure should be reviewed before deciding whether it is suitable for a specific environment.
Glass solar panels
Glass provides a rigid surface and strong physical protection. It can be suitable when minimum weight and flexibility are not required.
Typical applications include:
- Fixed monitoring equipment
- Industrial devices
- Outdoor enclosures
- Stationary battery-maintenance products
Choosing the right construction
Before selecting a material, consider:
- Indoor or outdoor use
- UV exposure
- Operating temperature
- Rain and humidity
- Salt-air exposure
- Vibration and mechanical stress
- Weight restrictions
- Required product lifetime
- Mounting method
- Target cost
The best material is the one that supports the complete product requirements—not simply the material with the most impressive specification.
6. Plan the Mechanical Integration
A panel can meet its electrical target and still create problems if it does not fit the product correctly.
Mechanical integration should begin before the enclosure design is finalized.
Shape
A custom solar module may be rectangular, square, round, narrow, or designed around an opening. Some irregular shapes are also possible.
The final shape depends on the solar cell layout, electrical connections, and manufacturing process. A complicated shape may reduce usable cell area, so it should be reviewed together with the power requirement.
Thickness and flexibility
Compact electronics may require a thin solar laminate. Other applications may need a rigid backing for additional support.
A semi-flexible solar panel can follow a gentle, fixed curve, but this does not mean it can be folded or repeatedly bent. The acceptable bending radius and installation method should be confirmed during development.
Mounting
Common mounting methods include:
- Adhesive backing
- Screw mounting
- Embedded installation
- Bracket mounting
- Frame integration
- Surface lamination
The correct method depends on the panel structure, mounting surface, environment, and maintenance requirements.
Cable exit
Cable position can have a major effect on installation.
A cable that exits from the wrong location may interfere with internal components, mounting surfaces, seals, or cable-routing channels.
Define whether the cable should exit from the rear center, a rear corner, the side, or another specific position before approving the panel drawing.
7. Specify the Cable and Connector
Small solar-powered products often use different connectors from large solar installations.
Depending on the application, the following features can be customized:
- Cable length
- Wire gauge
- Cable color
- Connector type
- Connector polarity
- Bare wire ends
- Waterproof connectors
- Cable glands
- Junction box position
If the product requires a specific connector, provide its part number and information about the matching connector.
Polarity should be clearly marked and included in the approved drawing. A sample can produce the correct voltage and still damage a product if the connector polarity is wrong.
8. Design for the Real Operating Environment
Solar panel ratings are measured under controlled test conditions. Actual performance may be lower because the product will not always operate in ideal sunlight.
Ask the following questions:
- Will the panel receive direct sunlight?
- Can trees, buildings, or the enclosure create shadows?
- Will it be installed vertically or horizontally?
- Can dust collect on the surface?
- Will it operate during winter?
- Is it exposed to rain, humidity, or salt air?
- Will it experience vibration?
- How many cloudy days should the battery support?
- Can users install it at the wrong angle?
These conditions also affect battery capacity, charging strategy, mounting, enclosure protection, and maintenance.
For example, a small panel may produce enough energy during a sunny test but fail when installed vertically under a roof edge. Testing should reflect the real installation as closely as possible.
9. Build and Test a Prototype
A custom solar panel prototype shows whether the proposed design fits the enclosure, charges the battery, and performs reliably with the real product.
Check the mechanical fit
Confirm:
- Dimensions and tolerances
- Shape and thickness
- Cable exit position
- Connector fit
- Mounting method
- Surface appearance
Check the electrical performance
Measure:
- Operating voltage
- Open-circuit voltage
- Output current
- Power output
- Charging behavior
- Compatibility with the charging circuit
Test the complete product
Install the prototype on the actual enclosure and operate it under representative conditions.
This may reveal:
- Unexpected shading
- Slow battery charging
- Cable-routing problems
- Connector interference
- Weak mounting
- Heat-related issues
- Insufficient energy during cloudy periods
Finding these problems during prototyping is normally easier and less expensive than changing the design after mass production begins.
10. Prepare the Design for Production
An approved prototype must be converted into a clear production specification.
The final specification should define:
- Dimensions and tolerances
- Electrical performance
- Solar cell type and arrangement
- Material structure
- Cable and connector
- Connector polarity
- Cable exit position
- Mounting details
- Appearance requirements
- Labeling and packaging
- Inspection and test requirements
This document becomes the common reference for engineering, purchasing, production, and quality control.
The objective is not only to produce one successful sample. It is to manufacture the same approved solar panel consistently across future production batches.
What Should You Send to a Custom Solar Panel Manufacturer?
You do not need to complete the entire design before requesting an initial review.
Start with the information you already have:
| Requirement | Information to provide |
|---|---|
| Application | The product that will use the panel |
| Available space | Maximum length, width, and thickness |
| Energy requirement | Target power or daily energy consumption |
| Battery | Chemistry, voltage, and capacity |
| Charging circuit | Controller model or input requirements |
| Environment | Indoor, outdoor, marine, mobile, or protected |
| Material | ETFE, PET, glass, or open to recommendation |
| Cable | Length, wire type, and exit position |
| Connector | Type, part number, and polarity |
| Mounting | Adhesive, screws, embedded, bracket, or frame |
| Quantity | Prototype quantity and expected production volume |
| Drawing | CAD file, PDF drawing, or dimensional sketch |
If some values are still unknown, provide the available information first. An engineering review can identify which specifications must be confirmed before prototyping.
Example: Custom Solar Panel for an Outdoor IoT Sensor
Consider a wireless environmental sensor installed outdoors.
It has limited enclosure space and transmits data for only a few seconds every hour. Although its peak current is relatively high during transmission, its total daily energy consumption remains low.
The battery supplies the short transmission peak. The solar panel then replaces the energy used during the day.
For this project, the engineering team would need to:
- Measure the available area on the enclosure.
- Calculate the device’s daily energy consumption.
- Review the battery and charging circuit.
- Define the required panel voltage and power.
- Select a material suitable for outdoor exposure.
- Confirm the cable position and mounting method.
- Build and test a prototype on the actual device.
This approach produces a more reliable result than selecting a standard panel based only on its wattage.
Frequently Asked Questions
Can solar panels be made in custom sizes?
Yes. A solar panel can be developed around specific dimensions. Feasibility depends on the cell arrangement, required voltage, target power, material structure, and manufacturing process.
Can solar panel voltage be customized?
Yes. The voltage can often be adjusted by changing how the solar cells are connected. The final voltage must work with the charging circuit and remain practical for the available panel area.
Can a custom solar panel have an unusual shape?
Rectangular, round, narrow, and some irregular shapes are possible. Complex shapes may reduce the active cell area, so shape and power requirements should be evaluated together.
What information is needed to customize a solar panel?
The most useful information includes the available size, daily energy requirement, battery specification, charging circuit, operating environment, cable, connector, mounting method, and expected production quantity.
Is ETFE better than PET?
Not for every product. ETFE is often considered for demanding lightweight outdoor applications. PET may be appropriate for indoor, protected, or cost-sensitive products. The decision should be based on the complete construction and operating environment.
Can custom solar panels be used for IoT devices?
Yes. Custom solar panels are well suited to IoT devices because these products often have limited space, low but specific energy requirements, and application-specific enclosure designs.
Should the enclosure or solar panel be designed first?
Ideally, they should be developed together. Early integration provides more flexibility for panel area, cell arrangement, cable routing, sealing, and mounting.
From Product Requirements to a Practical Solar Solution
A successful custom solar panel project starts with the product—not with a standard panel catalog.
The main development path is:
Available Space → Daily Energy Use → Voltage and Current → Solar Cells → Materials → Mechanical Integration → Prototype → Testing → Production
When you consider these factors together, the solar panel becomes a reliable part of the finished product.
SiborTech works with product developers and OEM customers on custom small solar panels, portable solar chargers, semi-flexible modules, and application-focused solar integration.
To begin a technical review, prepare the available dimensions, energy requirements, battery information, charging-circuit specifications, operating environment, and product drawing.