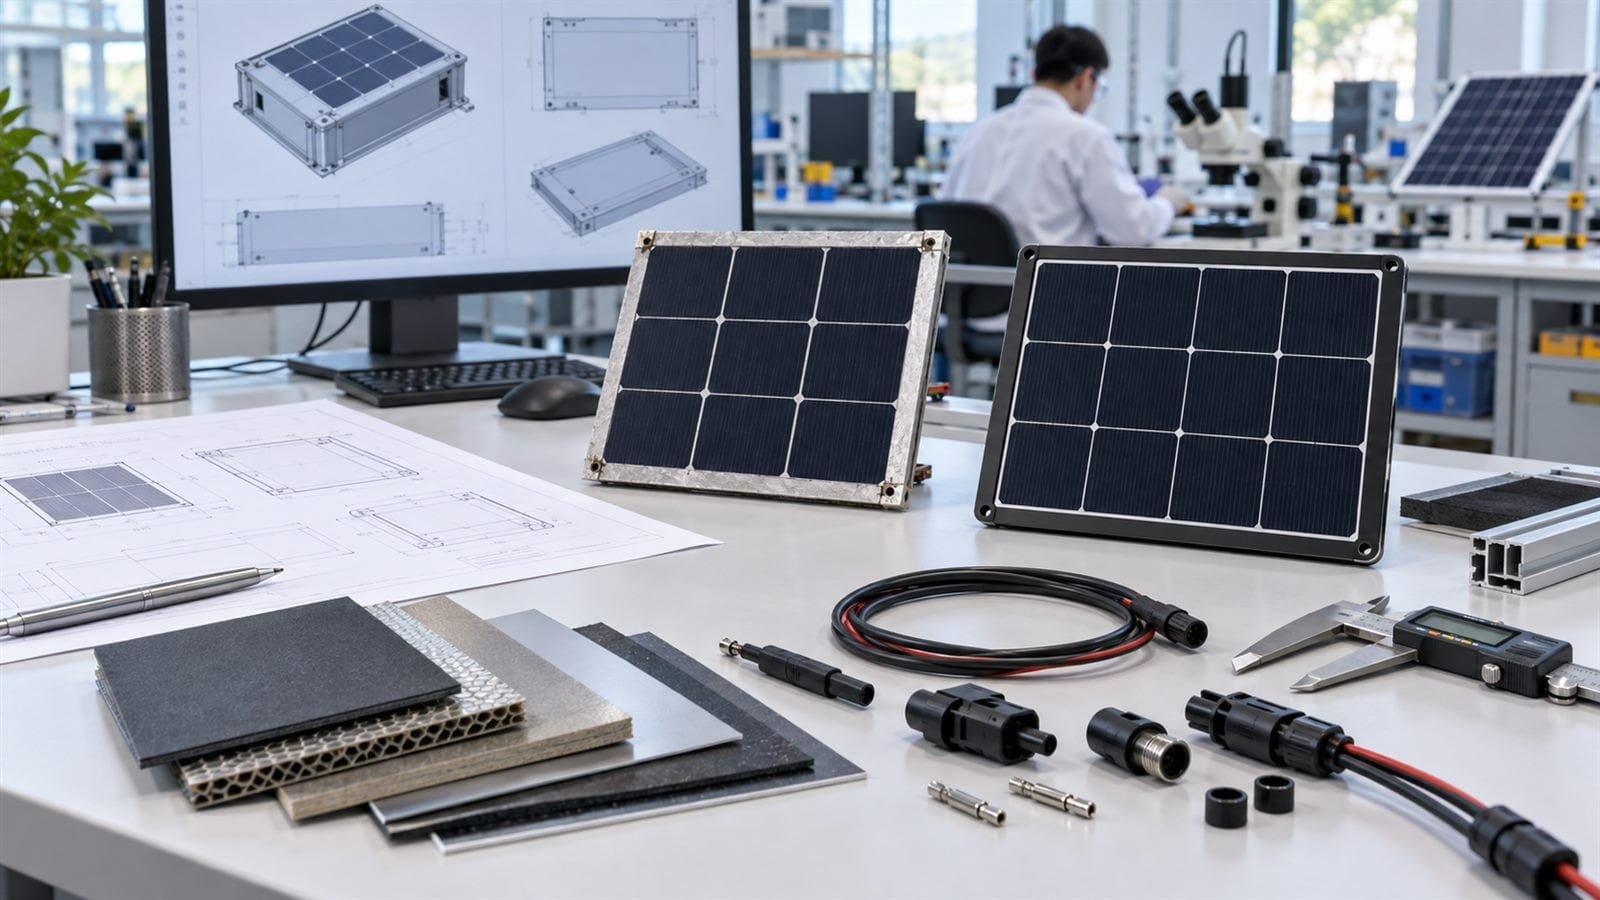
A custom solar panel prototype should answer more than “Does it produce voltage?” It must fit the product, work with the charging electronics, survive expected handling, and match an agreed drawing.
Testing is most useful when acceptance criteria are written before the sample arrives. That keeps the review focused on product requirements instead of impressions formed during the test.
Define What the Prototype Must Prove
Start with the largest project risks. For one product, enclosure fit may be the main question. For another, the challenge may be charger startup under weak or changing light.
A prototype can be intended to confirm:
- Mechanical dimensions and fit
- Cell layout and appearance
- Voltage and current behavior
- Compatibility with a charging circuit
- Cable, connector, polarity, and routing
- Mounting method
- Flexibility for a defined curved surface
- Handling during folding or installation
- Performance under representative light and shading
- Manufacturability of the proposed construction
Separate exploratory samples from approval samples. An early engineering sample may contain open items. A final approval sample should match a controlled specification.
Build a Traceable Test Plan
Each test should identify the requirement, sample revision, equipment, light conditions, procedure, measurement, acceptance criterion, result, owner, and date.
A concise table is enough when it allows another person to repeat the check. Do not write “panel works” as a criterion. State what will be measured and what result is acceptable.
1. Confirm Sample Identity and Revision
Before testing, confirm that the sample matches the drawing being reviewed. Record its part number, revision, date, and any known deviations.
Photograph the front, back, cable exit, connector, and label. If several samples are tested, assign a unique identifier to each one.
This step prevents data from one revision being used to approve another.
2. Inspect Appearance and Workmanship
Visual inspection should use agreed criteria. Checks may include active-area alignment, surface condition, edges, backing, contamination, interconnect appearance, cable exit, connector, polarity marking, and labels.
Cosmetic limits should be supported by reference images or an approved sample where possible. Words such as “minor” and “acceptable” are hard to apply consistently without examples.
3. Measure Dimensions and Product Fit
Measure critical dimensions from the controlled drawing. Pay attention to overall size, thickness, holes, corner radii, cable exit, connector clearance, keep-out zones, flatness or curvature, and active-area position.
Then install the prototype in a real or representative enclosure. A dimensional report may pass while the cable, adhesive, fastener, or assembly sequence still causes a fit problem.
4. Verify Polarity, Continuity, and Connector Fit
Use a meter to confirm polarity before connecting the panel to the product electronics. Verify continuity, pinout, and the correct mating connector.
Confirm that the connector mates fully, keying prevents an incorrect connection, the cable reaches without tension, routing avoids tight bends, strain relief clears the enclosure, and the connector remains accessible.
A physical match does not prove electrical compatibility. Voltage, current, and charging behavior still require separate checks.
5. Characterize Electrical Behavior
Open-circuit voltage is a useful check, but it is not a complete performance test. Measure behavior under an appropriate load or with the intended power electronics.
Record the light source, input condition, lamp type for indoor work, panel orientation and distance, temperature where relevant, equipment, open-circuit voltage, loaded voltage and current, and stabilization time.
Outdoor nameplate measurements and indoor low-light measurements are not interchangeable. Equal lux under different lamps can produce different PV output.
Avoid comparing a prototype result with a research-cell efficiency record. The module has its own area definition, interconnects, encapsulation, and test conditions.
6. Test With the Intended Charging Circuit
The most valuable electrical test often uses the real charger, battery, and load. Observe startup, minimum useful input, operation near limits, changing shade, battery-charge current, load sharing, restart, low-battery behavior, and required reverse-current protection.
Follow the battery and charging-component supplier guidance. Do not improvise charging limits or protection behavior.
7. Evaluate Shading and Orientation
A product enclosure, strap, antenna, window frame, mast, or user can shade part of the panel. Test the patterns expected in the real installation.
Partial shading may affect a cell string differently from a uniform reduction in light. A prototype trial helps the team understand whether the cell layout and product placement are compatible.
For a portable panel, include likely deployment angles. For a fixed product, use the intended mounting direction and surrounding geometry.
8. Test the Mounting Method
Install the panel with the intended adhesive, frame, fasteners, or integration method. Use the real substrate or a representative sample.
Review surface preparation, assembly time, adhesive coverage or fastener access, support, cable clearance, service needs, thermal path, ventilation, and edge exposure.
Adhesive selection requires compatibility with both surfaces and the environment. Follow the adhesive supplier’s preparation, cure, and test guidance.
For semi-flexible panels, confirm the approved curvature and whether the application involves one-time forming or repeated movement. “Flexible” should not be interpreted as unlimited bending.
9. Select Environmental and Handling Tests From Risk
There is no single test list for every custom panel. Build the plan from where the product will be used and how it can fail.
Possible risks include temperature cycling, humidity, UV, salt or chemicals, vibration, shock, cable pull, repeated flexing, folding, abrasion, cleaning, shipping, and packaging.
Any standard, severity, duration, and pass criterion must be confirmed for the actual product and target market. Do not claim certification or an IP rating from an informal prototype test.
10. Test the Energy Balance Over Time
A short bench test can show that charging begins. It cannot show that the product maintains its energy balance through daily use.
Run representative cycles with the expected load schedule, useful-light period, no-light period, communication peaks, battery reserve, and recovery from a low-energy condition.
Record both input conditions and device behavior. If the energy budget fails, determine whether the cause is panel area, orientation, charging losses, load behavior, storage, or an incorrect assumption.
Use a Golden Sample Carefully
After the design is approved, a golden sample can support production comparison. It should be identified, protected, and tied to a drawing revision.
A golden sample is useful for appearance, assembly, and interface reference. It does not replace measurable electrical, dimensional, and material requirements.
Prototype Review Checklist
| Area | Key approval question |
|---|---|
| Revision | Is this the sample described by the current drawing? |
| Appearance | Are cosmetic limits defined and met? |
| Dimensions | Does it meet critical dimensions and fit the product? |
| Interface | Are connector, pinout, polarity, and cable routing correct? |
| Electrical | Does it meet defined behavior under recorded conditions? |
| Charging | Does it work with the actual charger, battery, and load? |
| Shading | Has realistic product shading been evaluated? |
| Mounting | Does the intended mounting method work on the real substrate? |
| Environment | Have application-specific risks been tested or planned? |
| Energy cycle | Can the system support the required operating schedule? |
| Documentation | Are results, deviations, and open issues recorded? |
Common Testing Mistakes
Testing without recording light conditions
The result cannot be repeated or compared reliably.
Approving from open-circuit voltage alone
The panel may still perform poorly with the intended charger and load.
Using a laboratory fit check instead of the real assembly
Cable routing, adhesive, and assembly access often reveal problems.
Copying an environmental test list from another product
Testing should follow actual risks and market requirements.
Treating one good sample as proof of production consistency
Production controls and acceptance criteria are still required.
FAQ
How many prototypes should be tested?
The number depends on the development stage, risks, variation being studied, and confidence required. One sample can answer a fit question, but it cannot characterize production consistency.
Is open-circuit voltage enough to approve a prototype?
No. Test loaded behavior and operation with the intended charging circuit under recorded light conditions.
Does a prototype test prove an IP rating?
No. An IP claim requires the defined test method and the relevant finished-product configuration.
When should acceptance criteria be written?
Write them before testing whenever possible. Early criteria make the prototype purpose clear and reduce subjective approval.
Next Step
Review our small custom solar panel options when defining the sample requirements. If your project is moving toward a prototype, discuss it with us. Agreeing on the questions the sample must answer makes each prototype round more useful.