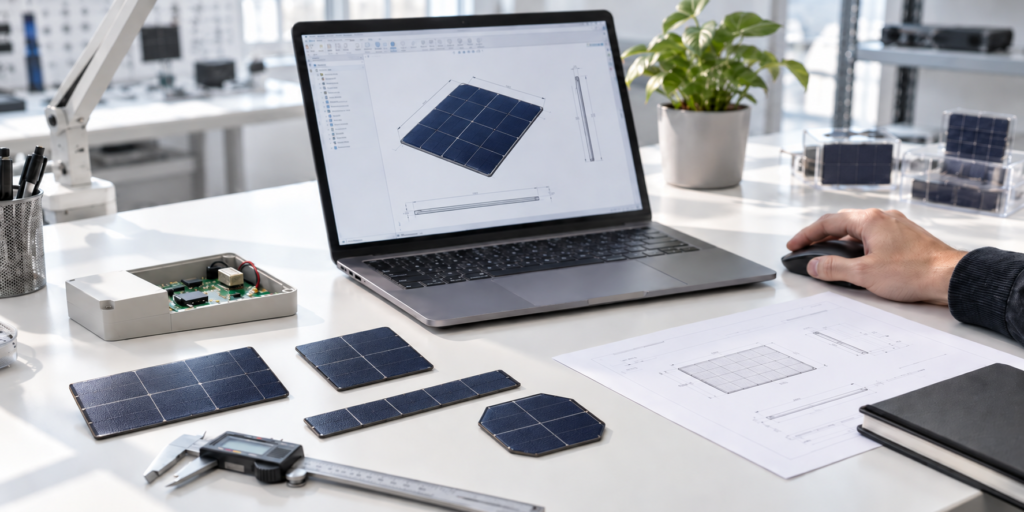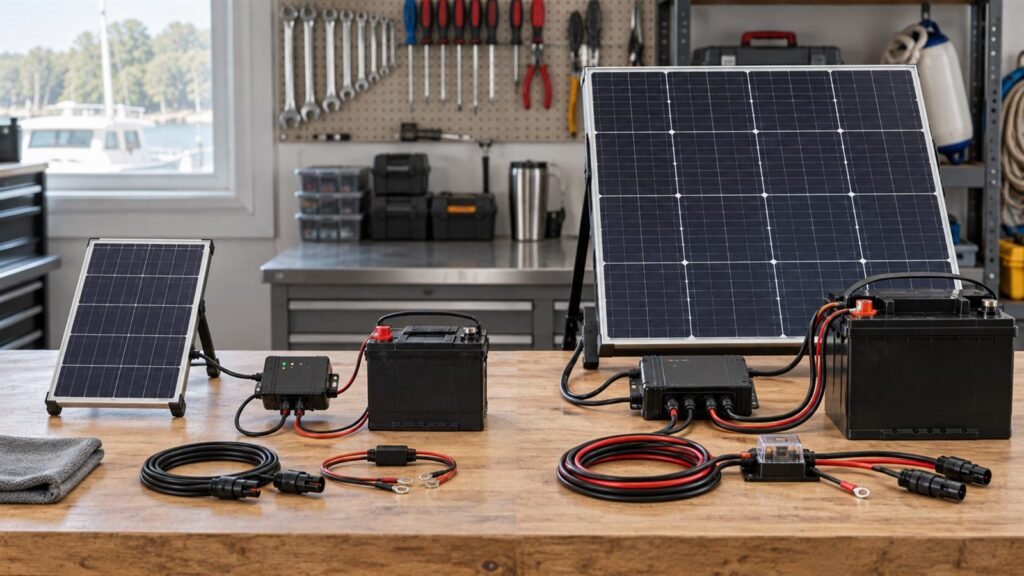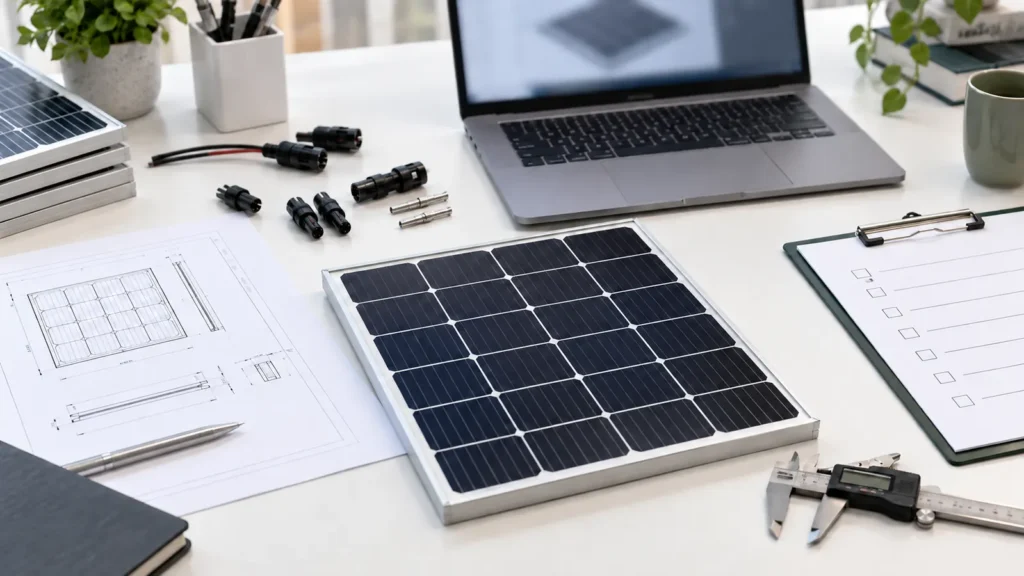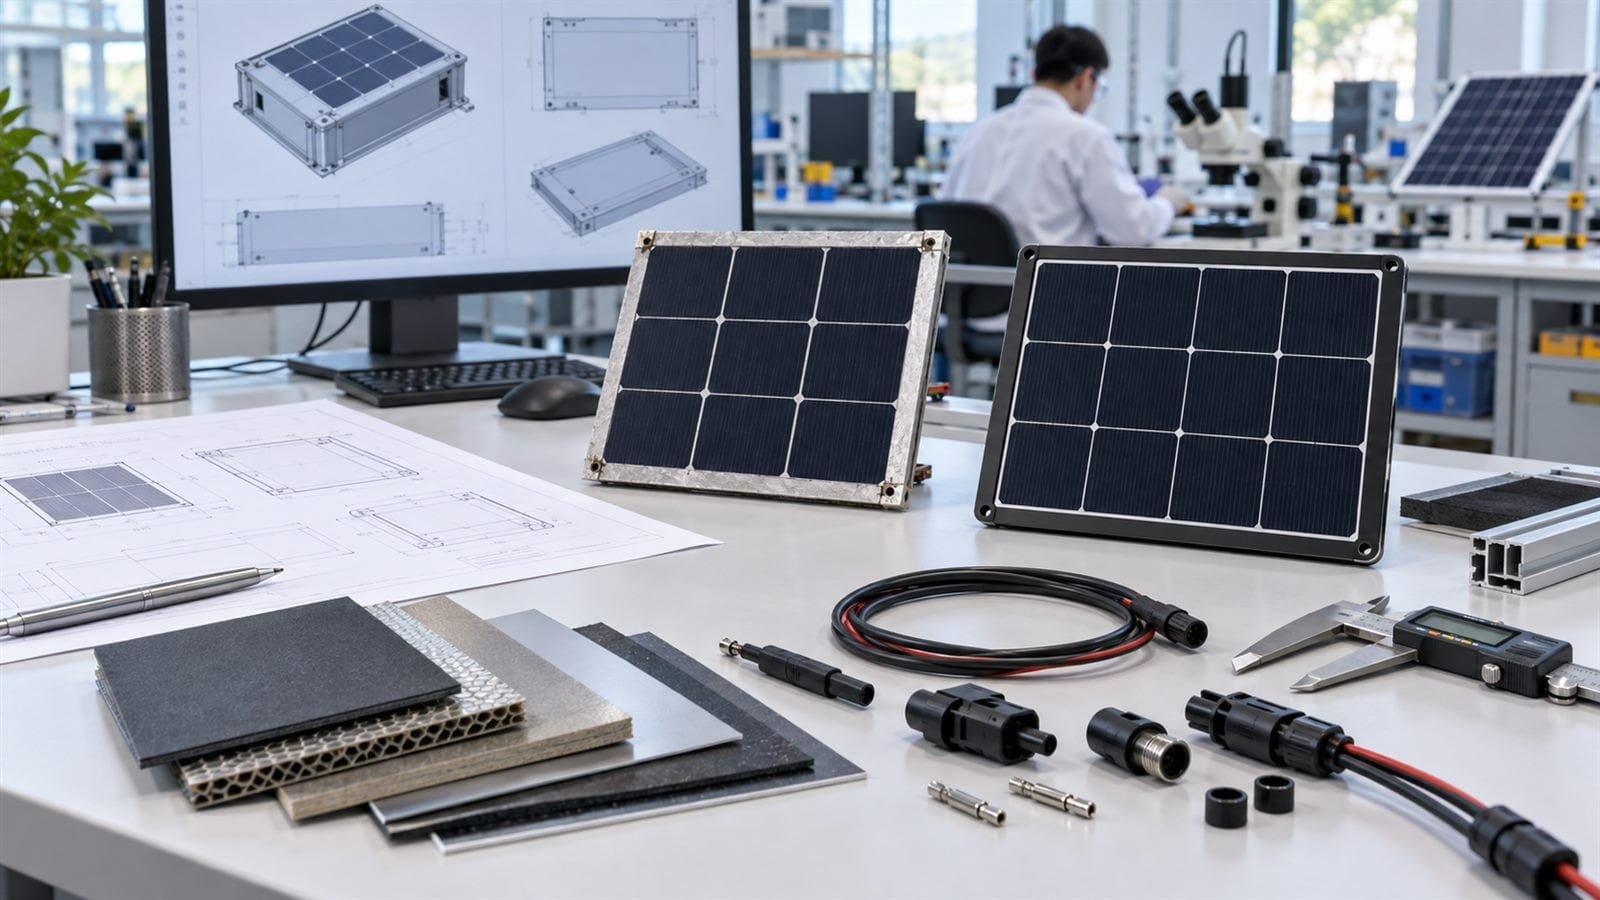
When a standard panel does not fit a product, the work involves more than cutting a module to a different size. The panel has to fit the available surface, meet the electrical target, connect to the charging circuit, tolerate the use environment, and remain practical to manufacture.
A clear custom solar panel development process keeps these decisions connected. It also gives the buyer and supplier a common way to judge the prototype before production begins.
Start With the Product, Not the Panel
The first question is not, “What wattage do you need?” It is, “What must the complete product do?”
Useful inputs normally include:
- Device operating modes and current in each mode
- Expected operating time or duty cycle
- Battery chemistry, capacity, and voltage range
- Charging circuit or power-management IC
- Available panel area and enclosure drawings
- Expected indoor or outdoor light conditions
- Mounting surface and cable route
- Target connector, polarity, and cable length
- Environmental and handling conditions
- Target market, development schedule, and estimated production quantity
Some information may still be uncertain at the start. That is normal. The important step is to label assumptions so they can be tested later.
Stage 1: Define the Energy Requirement
Panel power and device energy are related, but they are not interchangeable. Power describes a rate in watts. Energy describes power used over time, often in watt-hours.
A device may draw very little current while sleeping and a much larger current while transmitting data. The correct starting point is a load profile that shows both states and their duration. The engineering team can then estimate daily energy use, conversion losses, storage needs, and the useful charging window.
This calculation does not produce one universal answer. Light availability changes by location, season, orientation, shading, and user behavior. A robust design states the assumed conditions and includes a practical validation plan.
For a deeper method, see how to size a solar panel for an IoT device.
Stage 2: Check Mechanical Feasibility
The enclosure drawing defines the gross surface area, but not all of that area can become active solar area. Space may be needed for edge sealing, mounting holes, cable exits, inactive margins, interconnects, or cosmetic borders.
The supplier should review:
- Maximum length and width
- Corner radii and non-rectangular boundaries
- Keep-out zones
- Surface flatness or curvature
- Thickness limit
- Mounting method
- Cable exit direction
- Areas likely to be covered or shaded
An irregular outline can sometimes be produced, but shape affects usable cell area, cell arrangement, appearance, yield, and cost. A CAD drawing is more useful than a rough statement such as “about 100 by 80 millimeters.”
Our small custom solar panel page describes customization of dimensions, shape, electrical output, materials, and connectors.
Stage 3: Develop the Electrical Configuration
The module configuration must work with the product’s input circuit. The review usually covers operating voltage, open-circuit voltage, operating current, expected charging behavior, and the limits of the downstream electronics.
Cell connections influence voltage and current. More cells in series raise module voltage. Parallel paths can raise current, but the practical layout depends on the cell format, available area, interconnection method, and shading pattern.
The connector is part of this interface. A familiar plug does not prove compatibility. Pinout, polarity, cable length, conductor size, contact rating, and strain relief still need to be specified.
At this stage, the buyer should share the charging-circuit input limits or relevant component data sheet. Guessing from the battery’s nominal voltage can create a design that works poorly or not at all.
Stage 4: Select the Module Construction
Surface and backing materials should follow the application. A small embedded panel, a foldable outdoor charger, and a semi-flexible vehicle panel do not have the same mechanical or environmental needs.
The team may need to compare:
- Rigid and lightweight constructions
- ETFE, PET, glass, or another verified surface option
- Backing stiffness and color
- Adhesive or mechanical mounting
- Cable sealing and strain relief
- Appearance, texture, and cleanability
Material names alone do not define performance. Construction details, thickness, lamination, edge design, substrate, and use conditions also matter. Claims about ingress protection, temperature range, or service life should be supported by the exact product specification and test evidence.
Stage 5: Create a Reviewable Design
Before a prototype is built, the parties should agree on a drawing or specification. It should identify the dimensions, tolerances, active layout, materials, cable, connector, polarity, label requirements, and electrical targets.
Open questions should be visible. If a value will be confirmed after the first sample, the document should say so. This prevents a working assumption from being mistaken for a production requirement.
A design review is also the right time to check manufacturing feasibility. Small cosmetic changes or a revised cable exit can sometimes simplify production without changing the product’s function.
Stage 6: Build and Test the Prototype
A prototype is not only a visual sample. It should answer defined questions.
- Dimensions and fit in the enclosure
- Appearance and active-area alignment
- Polarity and connector mating
- Open-circuit voltage and loaded behavior under defined conditions
- Operation with the intended charging circuit
- Cable routing and strain relief
- Mounting trial on the real or representative surface
- Performance under expected shading and orientation
- Handling tests relevant to the application
Environmental or durability testing should be selected from actual risks. A vehicle-mounted product may need different evaluation from a sensor installed inside a building. Do not assign a standard or pass claim until the product, market, and test method are confirmed.
Stage 7: Close Issues and Freeze the Design
Prototype feedback should be converted into controlled revisions. Each change needs a reason, an owner, and a way to confirm the result.
Once the design is accepted, the production package can be frozen. It may include:
- Approved drawing and revision
- Bill of materials or controlled material specification
- Electrical acceptance limits
- Cosmetic acceptance criteria
- Cable and connector drawing
- Label and packaging requirements
- Approved or “golden” sample
- Inspection and test instructions
The exact package depends on project scope. The goal is to make the approved design reproducible, not to create paperwork for its own sake.
Stage 8: Transfer the Design to Production
Production handoff checks whether the process can repeatedly build what the prototype demonstrated. Pilot units or an initial production run can reveal assembly, inspection, packaging, or handling issues that one prototype did not show.
Buyers should also agree on change control. A cell, encapsulation material, connector, adhesive, or process change may affect fit or electrical behavior. The quality agreement should define which changes require notification, samples, or requalification.
Information That Speeds Up Development
| Area | Useful input |
|---|---|
| Product function | What the device does and where it is used |
| Load | Operating modes, current, voltage, and duty cycle |
| Storage | Battery or capacitor details and required autonomy |
| Space | Drawing, maximum dimensions, thickness, and keep-outs |
| Light | Indoor/outdoor, orientation, shading, and expected exposure |
| Interface | Charge circuit limits, cable, connector, and polarity |
| Construction | Surface, backing, mounting, appearance, and environment |
| Commercial | Prototype quantity, target volume, and schedule |
Common Process Mistakes
Choosing wattage before defining the load
A nameplate target cannot replace a daily energy model. Start with the device and its operating pattern.
Treating the full enclosure surface as active area
Margins, interconnects, cable exits, and mounting features reduce usable area.
Approving a prototype from one voltage reading
Open-circuit voltage alone does not show how the panel behaves with the intended charger and load.
Leaving the cable assembly until the end
Cable length, exit direction, connector body, and strain relief can affect both the enclosure and electrical performance.
Moving to production without acceptance criteria
The team needs an agreed way to decide whether future units match the approved design.
FAQ
What information is required for a custom solar panel prototype?
Provide the available area, electrical target, load and storage information, light conditions, material preference, cable and connector needs, mounting method, and expected environment. A drawing is strongly recommended.
Can the dimensions change after the first prototype?
Often they can, but a dimensional change may require a new cell layout or electrical review. Confirm the impact before treating it as a cosmetic revision.
How many prototype rounds are needed?
There is no fixed number. A clear initial specification and test plan can reduce iteration, while an evolving product enclosure or charging circuit may require additional samples.
When is a custom panel ready for production?
It is ready when the design inputs, prototype results, acceptance criteria, drawings, materials, and production controls have been reviewed and approved for the intended application.
Next Step
If your product needs a solar panel with a specific size, shape, voltage, cable, connector, or construction, discuss your custom solar project with us. Share the enclosure drawing and power requirements so the team can review feasibility and identify the decisions needed for a prototype.