Solar power for a LoRa sensor or remote monitoring node is usually feasible only when the energy budget reflects the real radio behavior, sensing cycle, installation light, and power-management losses. LoRa can support long-range low-data-rate communication, but range alone does not guarantee low energy at every site.
This guide explains how to specify a compact monocrystalline solar system for LoRa end devices, data loggers, and remote telemetry nodes.
Define the Type of LoRa Device
A battery-powered end sensor has a very different energy profile from a gateway. End devices can sleep for long periods, wake to measure, transmit a short packet, and return to sleep. Gateways generally listen continuously and require a much larger power system.
Clarify whether the product is a Class A, B, or C device, a private LoRa node, a LoRaWAN gateway, or a multi-radio telemetry unit. Do not apply a small sensor-node calculation to continuously active equipment.
Measure the Complete Duty Cycle
Record sleep current, sensor warm-up, measurement, processing, packet preparation, transmission, receive windows, acknowledgments, retries, data storage, and status indicators. Measure with production-intent firmware and the intended sensors.
Daily energy is the sum of power multiplied by time in every state. Peak transmit current matters for the battery and regulator, while total daily energy determines the required solar input.
Radio Settings Affect Energy Use
Spreading factor, bandwidth, transmit power, payload length, acknowledgment policy, and retry behavior change airtime and energy. A node at the edge of coverage may transmit longer or repeat messages.
Test at representative gateway distance, antenna orientation, foliage, buildings, terrain, and interference. The lowest bench transmit setting is not a safe basis for field sizing.
Include Sensor and Peripheral Loads
The radio may not be the largest consumer. Air-quality sensors, heaters, GNSS receivers, displays, relays, and local processing can dominate the budget. Some sensors require stabilization before a valid reading.
Review whether every measurement must be transmitted immediately. Batching readings or sending only meaningful changes can reduce radio activity without reducing data value.
Characterize the Installation Light
Remote nodes may be installed on poles, buildings, under vegetation, inside cabinets, on industrial equipment, or near infrastructure that casts shadows. Define minimum seasonal exposure, panel orientation, and potential obstruction.
For forest, agriculture, or urban monitoring, foliage and structures can change throughout the year. Use conservative light assumptions and test representative locations.
Calculate the Energy Balance
Start with measured daily load energy. Add losses in the regulator, charger, battery, cable, and standby electronics. Divide the required solar energy by the useful light available during the design period, then add a margin based on uncertainty and the consequence of downtime.
The existing guide on how to size a solar panel for an IoT device provides a step-by-step calculation method.
Choose Battery Autonomy
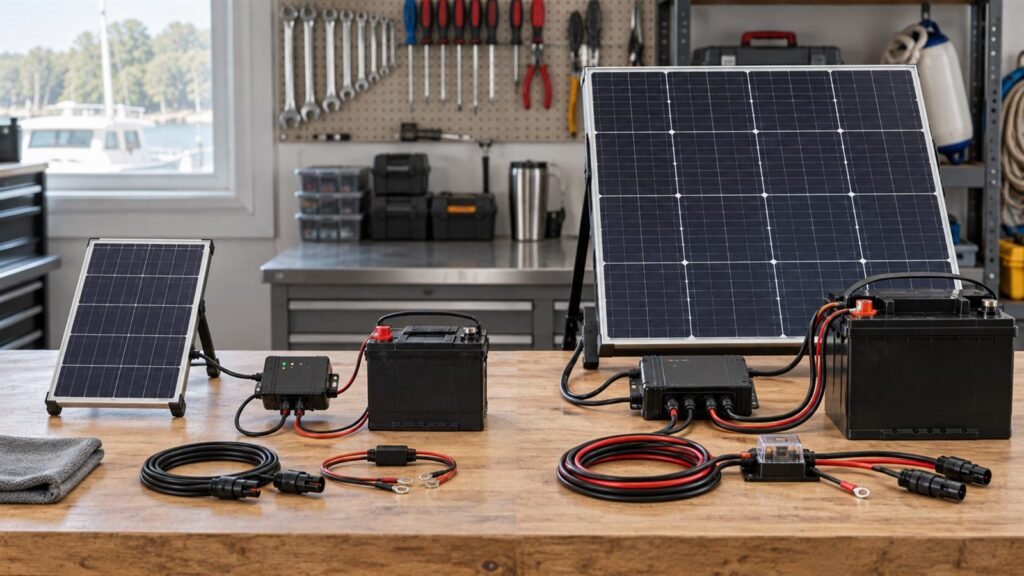
The storage device must cover nights, cloudy periods, temporary shade, maintenance delay, and bursts of communication. Define autonomy from the site’s climate and service access.
Include allowable depth of discharge, temperature, aging, self-discharge, and peak-current capability. If the node loses power completely, test whether it can cold start from solar input and return to the network without excessive retry energy.
Match Panel Voltage to the Energy-Harvesting Circuit
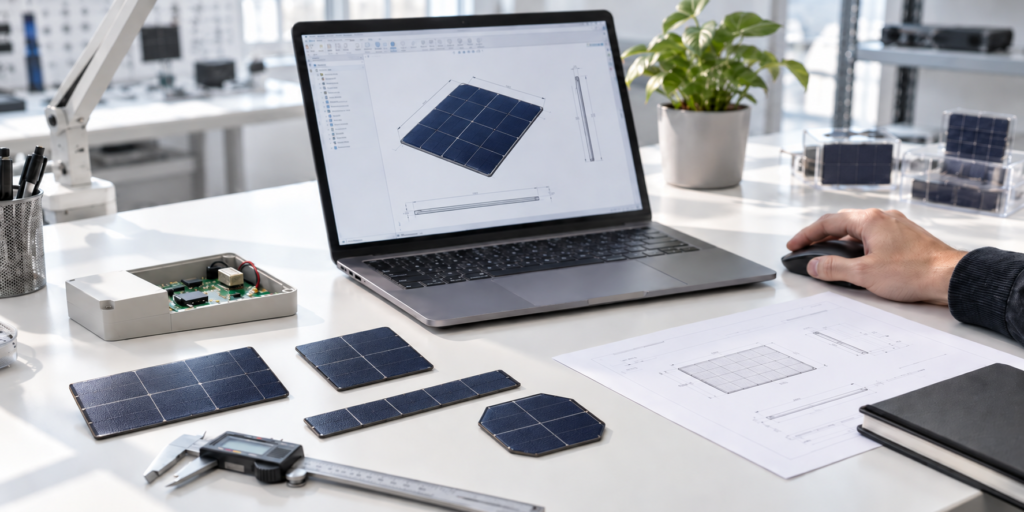
Share the charger or PMIC model, input range, cold-start voltage, maximum input voltage, battery chemistry, and target operating point. A custom series-parallel cell layout can tune voltage and current within the available enclosure area.
Long cables and small connectors can cause voltage drop. Measure at the power-management input under realistic current rather than relying only on module-terminal readings.
Integrate the Module With the Antenna
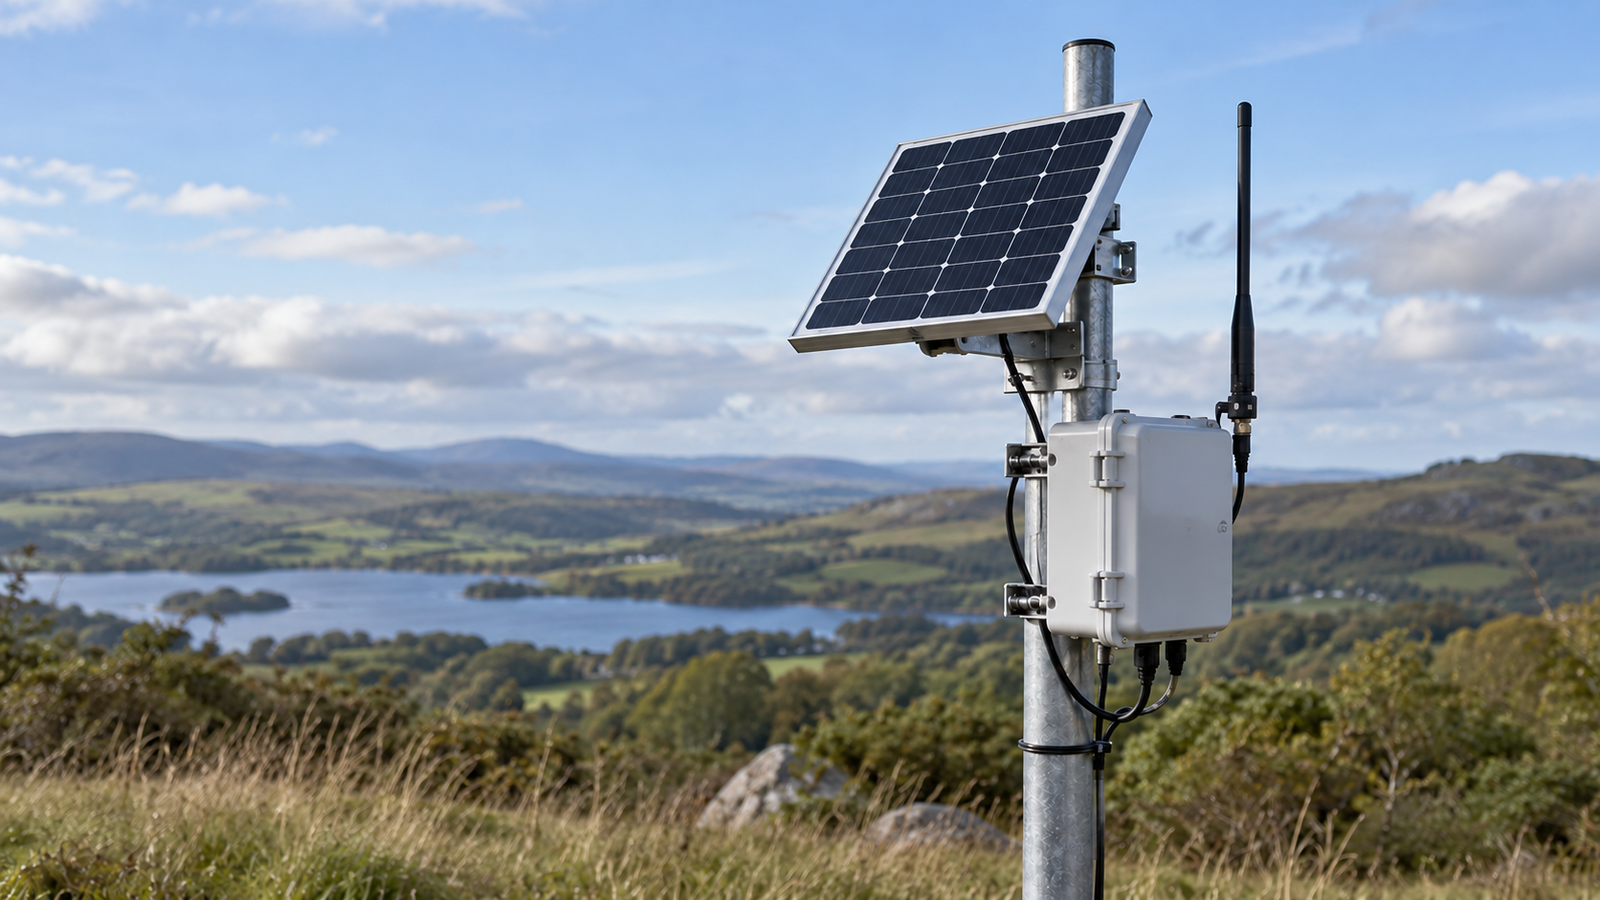
The solar cell assembly, conductive interconnections, cables, and mounting hardware can affect antenna placement. Maintain the antenna manufacturer’s keep-out area and test radio performance in the final enclosure.
A panel positioned for maximum sunlight should not force an unfavorable antenna orientation. In some products, separating the panel and node produces better solar and radio performance, although it introduces an external cable and connector.
Protect the Node for Remote Deployment
Remote equipment may face UV, humidity, water, dust, vibration, insects, salt, chemicals, and temperature extremes. Select module construction, edge sealing, cable routing, connector, and mounting around the actual exposure.
Do not infer an ingress rating from a solar laminate. Any environmental rating must be verified on the complete tested enclosure.
Use Energy-Aware Firmware
Firmware can protect operation during poor solar conditions. Strategies include reducing measurement frequency, batching data, limiting retries, using unconfirmed uplinks where appropriate, adapting transmit power, and monitoring storage voltage.
Define essential measurements and alarms that must continue during low-energy operation. Energy-saving behavior should not silently defeat the monitoring objective.
Prototype and Deployment Test
Measure current with sufficient time resolution to capture radio peaks and long enough duration to calculate daily energy. Test charging, cold start, storage recovery, radio range, and antenna behavior in the assembled device.
Deploy pilot units at representative strong- and weak-coverage sites. Log battery state, harvested energy, packet success, retries, sensor activity, temperature, and light. Evaluate repeated unfavorable days rather than a single successful transmission.
Information to Share With the Module Supplier
- Node or gateway classification
- Measured sleep, sensing, radio, and peripheral energy
- Reporting interval, payload, acknowledgments, and retry policy
- Battery and PMIC details
- Required autonomy and recovery behavior
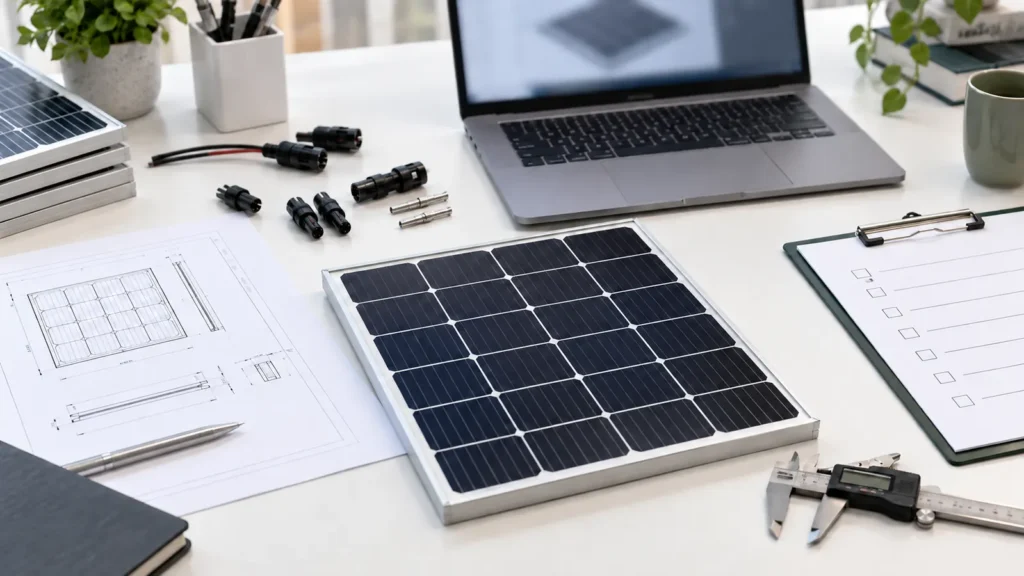
- Available panel area and enclosure drawing
- Installation location, orientation, and shading
- Antenna keep-out zone
- Cable, connector, mounting, and environmental requirements
Frequently Asked Questions
Can a small solar panel power a LoRa sensor?
Often yes for a well-optimized end node, provided measured daily energy, light availability, storage, and losses support the design.
Can the same design power a LoRaWAN gateway?
Not usually. A gateway’s continuous receive, processing, and backhaul loads require a separate energy calculation and often a much larger system.
Does a higher spreading factor use more energy?
It generally increases airtime, but total impact depends on transmit power, payload, retries, and the complete radio configuration.
Why does field consumption exceed bench measurements?
Weak signal, retries, sensor warm-up, temperature, firmware behavior, and peripheral loads may differ from the bench setup.
Should the solar panel and antenna face the same direction?
Not necessarily. Both solar access and antenna performance should be tested; a separated panel may help when their preferred orientations conflict.
Validate Solar, Radio, and Sensing Together
A reliable LoRa monitoring node balances the sensor duty cycle, radio link, module output, battery reserve, and installation environment. Field telemetry should confirm both energy stability and data delivery before production.
Explore SiborTech’s remote communication and monitoring applications and custom small solar panels. To review a LoRa node and its power budget, discuss your remote monitoring project.